Pre-requisite:
In order to use setup Snowflake with Jupyter Notebook, please refer to this article: Connecting Jupyter Notebook with Snowflake
You need to have a successful & working SSO configuration setup with your choice of Identity Provider
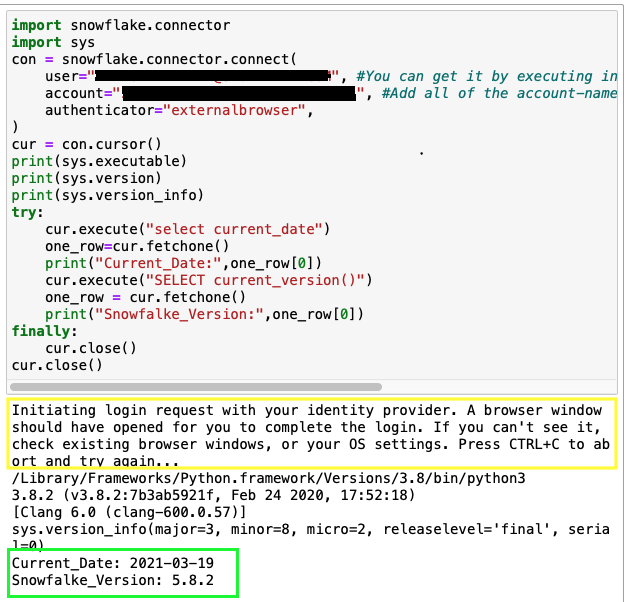
import snowflake.connector
import sys
con = snowflake.connector.connect(
    user="<login_name>", #You can get it by executing in UI: desc user <username>;
    account="<account-name>", #Add all of the account-name between https:// and snowflakecomputing.com
    authenticator="externalbrowser",
)
cur = con.cursor()
print(sys.executable)
print(sys.version)
print(sys.version_info)
try:
    cur.execute("select current_date")
    one_row=cur.fetchone()
    print("Current_Date:",one_row[0])
    cur.execute("SELECT current_version()")
    one_row = cur.fetchone()
    print("Snowfalke_Version:",one_row[0])
finally:
    cur.close()
cur.close()
Example Output: